So, now that you've made this pile of limp noodles, now what?
First, soak the item. You can use almost any bucket/bowl/sink that holds water. Put in your favorite fibre cleaning stuff. I use
Soak, which comes in many smells including unscented.
Depending on your fibre type, the length of time you let the item soak will vary. Since this has silk in it, I don't let it soak any longer than 20 minutes. Wool/camelid fibres take longer in order to saturate fully.
Carefully drain, and press out excess water. If you have a lot of dye bleeding, I rinse in cool water until it runs clear. It makes it easier to handle and I know it won't bleed on my clothing or towels by doing this.
Gather your materials together.
 |
| wet shawl, ruler, and pins |
Get shawl as dry as possible by rolling it in a towel
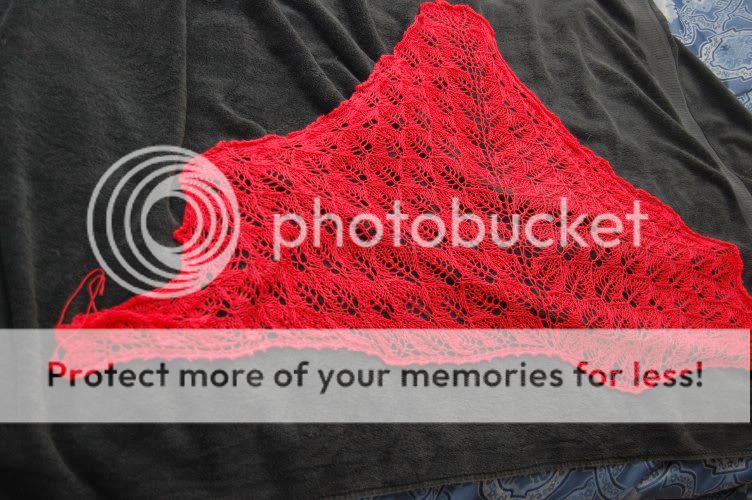 |
| pull into rough triangle on towel |
|
|
Roll the shawl/towel into a towel burrito
 |
| mmm burrito |
Roll Towel Burrito into thirds
 |
| You'll like what comes next. |
Then put bundle on clean floor and step on it like you're stepping on grapes to make wine. I know it sounds nuts, but it works very well and the towel will soak up the excess water and protect your knit.
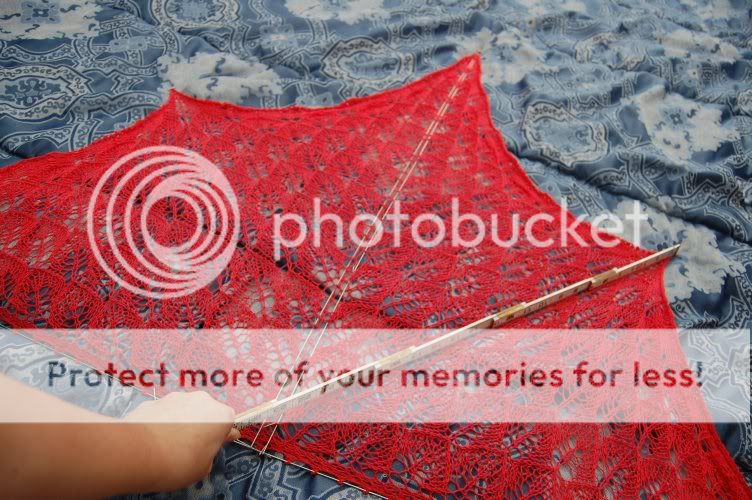
I like to pin out the top of the shawl next. Because I have my blocking wires available today, I decided to use them rather than pinning each picot out individually. That is an option, or you can use a narrow cotton yarn (thin twine) and a yarn needle to thread the yarn through the tops of the picots the way I have done with the blocking wires. It decreases the number of pins you'll use when blocking, and it is the
Russian Method of blocking that was immortalized by the Yarn Harlot. Seriously, check out her tutorial, it's worth every second.
 |
| I like to do each side out from the center. |
This is what a full side done looks like:
 |
| 1/2 of the top picots threaded |
Do the second side the same way. From here, I didn't get great pictures, but I like to put my blocking wires down the center to ensure a straight center stitch. It isn't necessary to do this, you can do this using your ruler and pins. I'm an overkill kind of gal.
 |
| See, Tpins! And my Jammie legs! Hmm, and the oldest son is stockpiling soda under his chair. |
 |
| measure out both sides, and pin the edges |
Measure down the center of the shawl
And Pin the Center out!
 |
| Add Ubiquitous T Pin! |
Now, we do the fun part!
Measure out from the center motif, and Pin!
 |
| first one side |
 |
| then the other! |
you'll be pinning out back and forth. You can use the ruler from center to edge tip to ensure a level triangle.
 |
| because of short time, I did 3 per side before moving to the other side |
Then stand on your chair and take a crappy picture of the fully blocked shawl:
 |
| MMMM, Shawl! |
|
Let dry fully, and unpin!! Cackle gleefully, or y'know, just beam in pride. You've successfully knit and blocked the free shawl pattern!

No comments:
Post a Comment